Radiance Scaling shader with Nuke


Goal : Implement the Radiance Scaling technique from the Radiance Scaling for Versatile Surface Enhancement paper inside Nuke using a few nodes. The technique is an alternative to the Light Warping method that is best adapted to compositing environments.

This implementation uses a simple Gaussian blur instead of Anisotropic Diffusion.
The result is over-enhancement around silhouettes. This could be corrected with a dedicated Nuke node.

Notes:
Authors: Olivier Dumas, Pascal Barla, Romain Vergne
Nuke version : 6.0

Radiance Scaling algorithm :

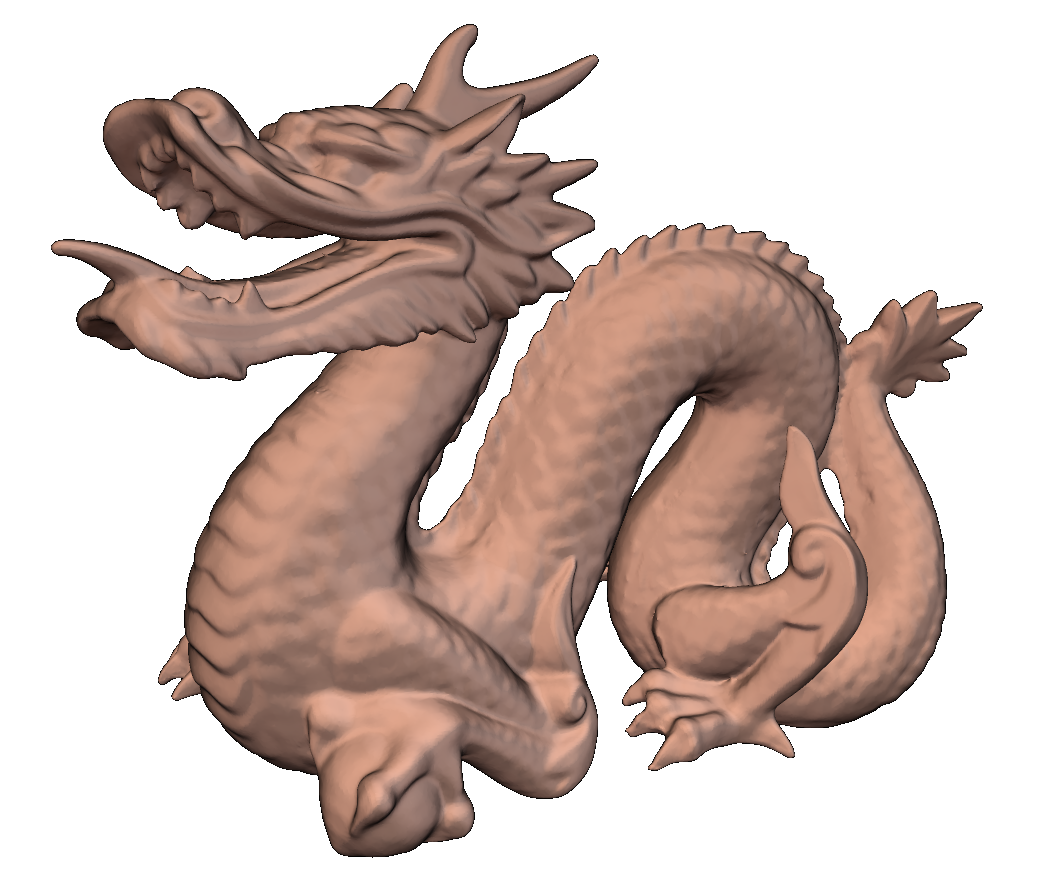
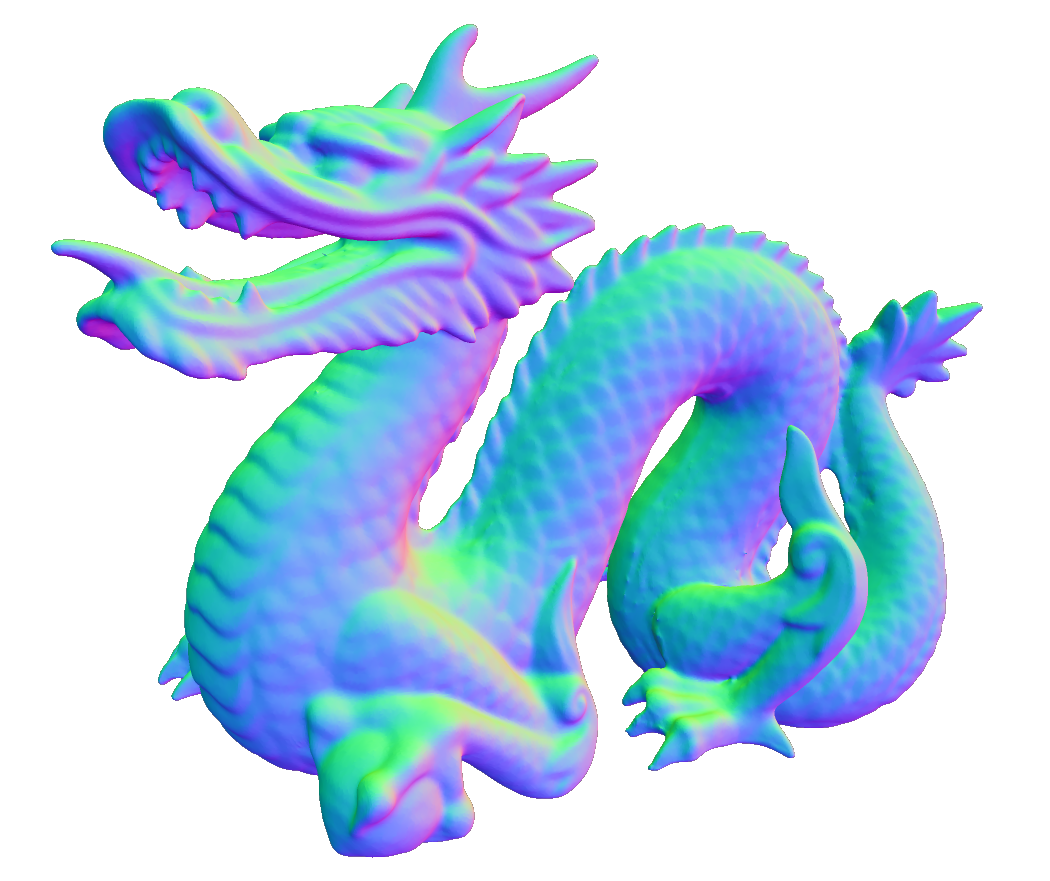
Input: a gray-scale or color image and its corresponding normal map, as shown below.

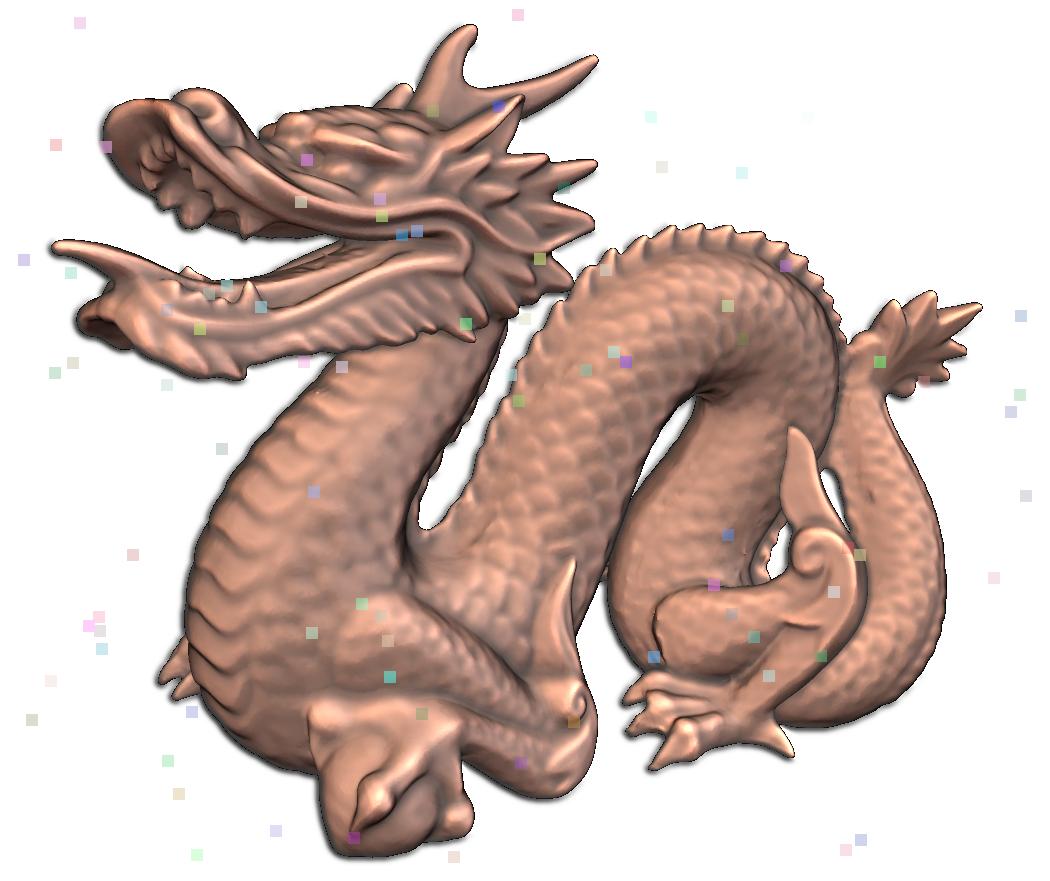
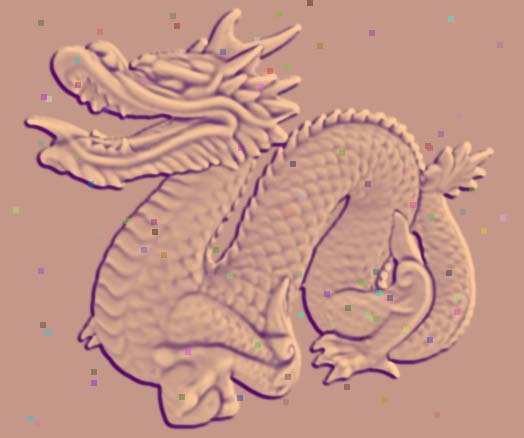
Output: an enhanced version of the input image, as shown below. (Colored dots on the picture are due to Nuke Personal Learning Edition)


The Radiance Scaling technique is performed in two stages:
  1. Compute surface details (convexities and concavities) from the normal map
  2. Use surface details to modulate the input color map
Each of these stages is detailed below, and we show at the end how to incorporate them using Nuke gizmos in arbitrary compositing scenarios.


1. Computing Surface details:

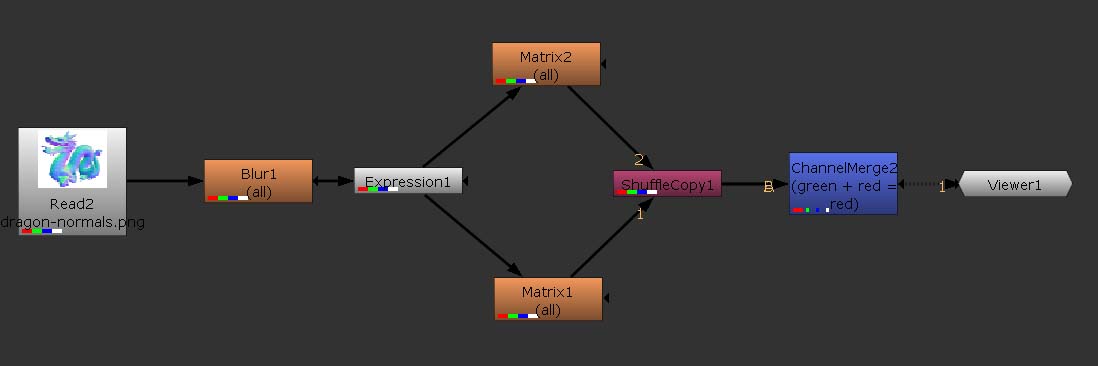
Graph:


Step-by-step:

  1. Import the normal map (drag and drop,  right click menu (RCM) Image->Read etc)
  2. Apply a blur to the normal map (RCM Filter->Blur)

  3. Retarget normal coordinates between -1 and 1 using an expression node (RCM Color->Math->Expression)
  4. Apply a Sobel operator to the ouput of the expression node. This is is done with two Matrix nodes (RCM Filter->Matrix).
    First with a 3*3 vertical Sobel matrix 
    Then with a 3*3 horizontal Sobel matrix.
  5. Merge the two outputs of the Sobel operator (in our case, in red and green channels) using a ShuffleCopy node (RCM Channel->ChannelMerge).
  6. Finally, add red and green channels together using a ChannelMerge node (RCM Channel->ChannelMerge).


When your graph is ready you can export it as a gizmo (let's call it Features). For this select all the nodes minus viewers and readers, group them (Edit->Node->Group->Collapse to group) and inside the group node properties choose export to gizmo. Now you can import the Features gizmo in every project you want.


Intermediate result :

We display below the resulting convexities and concavities using a simple color scheme: dark purple for concavities, light beige for convexities.

Input Features


2. Applying Radiance Scaling:

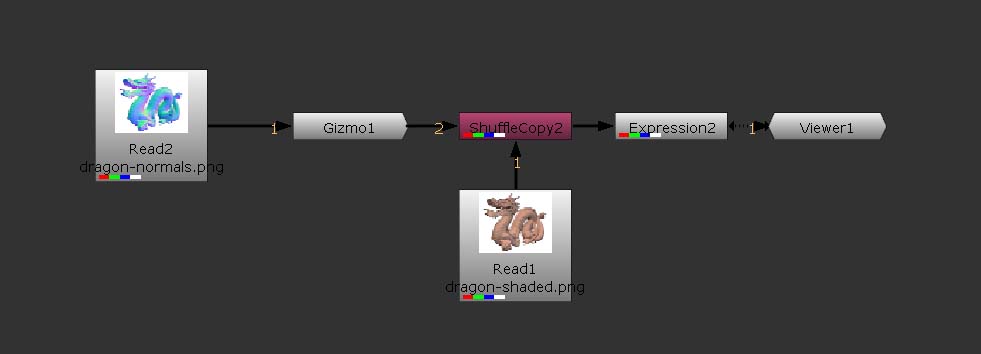
Graph:


Step-by-step:

  1. Import the picture to improve and its normal map in screen space.
  2. Import the Features gizmo (File->Import Script) and connect the normal map to its input.
  3. Merge the input image with features using a ShuffleCopy node, creating a new "features" channel if you want to keep the alpha channel.
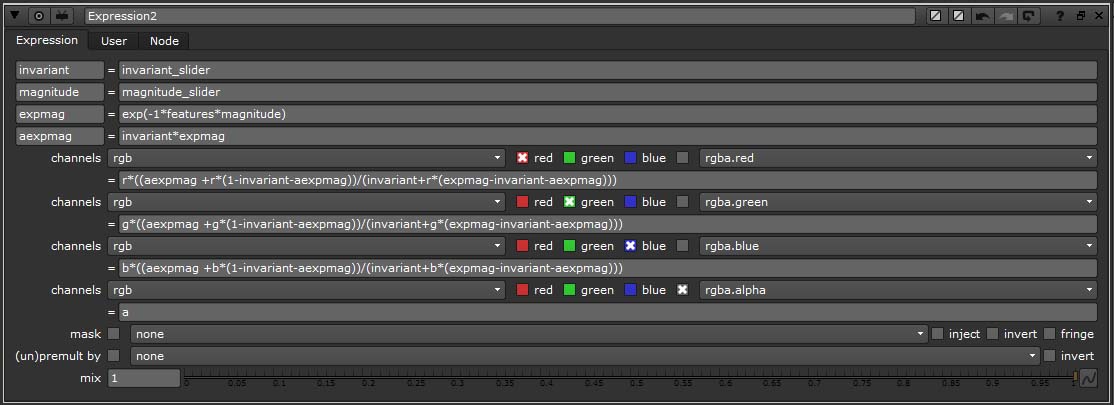
  4. Apply an expression node to the merged image, implementing the scaling function defined in the Radiance Scaling paper.
    It makes use of 2 variables,  invariant and magnitude, each driven by its own slider (RMC on Expression tab->Manage user Knob->Add->Floating Point Slider).
    We also make use of two temporary variables: expmag and aexpmag. The formula from the paper is then applied to each channel independently.


When that's over you can create another gizmo (let's call it Scaling) that groups the shuffle and expression nodes.


Integration in a pipeline


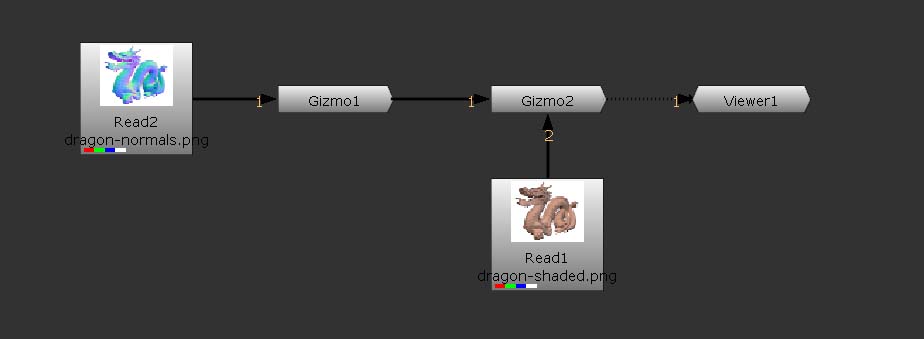
Using the Features and Scaling Gizmos, it is now straightforward to apply Radiance Scaling in arbitrary pipelines.

  1. Import the input color image and its corresponding normal map.
  2. Import the Features gizmo (File->Import Script).
  3. Connect it to the normal map output.
  4. Import Scaling gizmo 
  5. Connect the input image and to the output of the Features gizmo to its inputs.


That's all folks !